Last night at Lutterworth Piecemakers we enjoyed the chance to sign up for one of several short workshops. I have always looked at Faux Chinille and wondered what the secret was; last night I found out. Vicki and Ann provided some inspiring samples and led us through the stages.
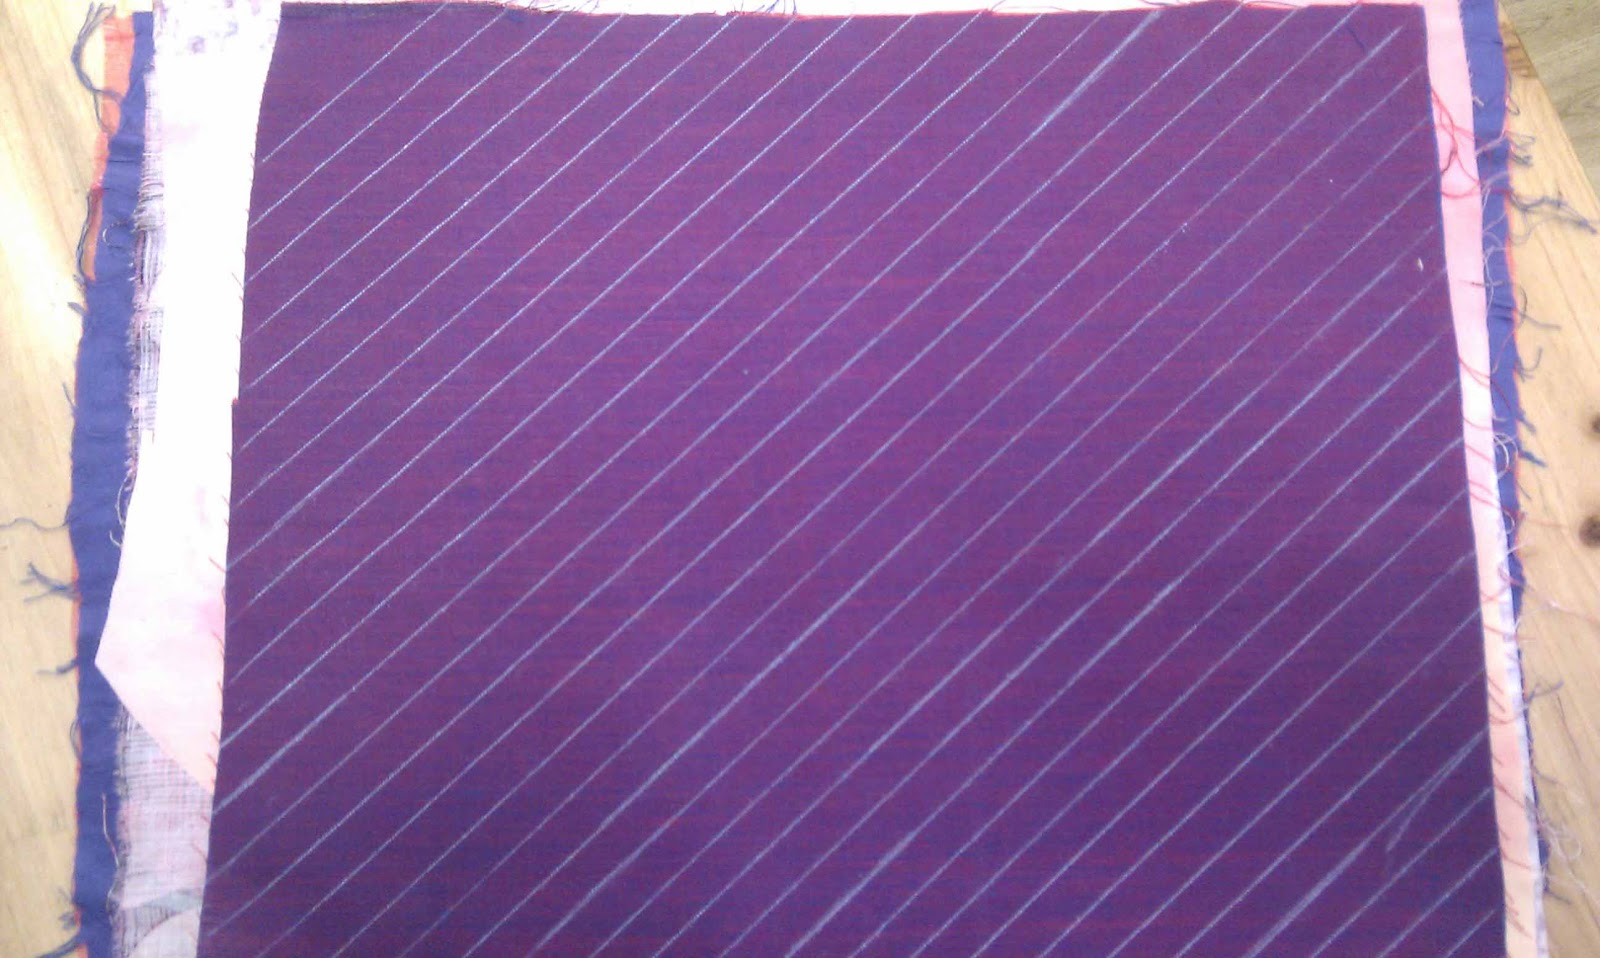
My fabrics were quite closely related in colour terms and I had included a synthetic creased satin, (not the brightest idea, it's slippy!) You mark the stitching lines on the fabrics which will be the bottom, uncut layer.
I then stitched on the drawn lines. It would have been better if I had remembered my walking foot, but I managed not to get too much creep. We were then advised to use scissors to cut into the end of each strip, very carefully leaving the bottom layer uncut. The tool provided was excellent.
It just fitted inside the stitched rows and cut them in the centre.
All the rows cut. I really like the technique, but looking at my fellow students' fabrics I realise that it might have been more effective had I used some bright contrasts - Amish colours would have worked well. This morning I popped the sample in with a wash load and gave it a short tumble dry - hey presto - completed fabric.


Lovely to see the finished fabric! Now, the decision of what to do with it!
ReplyDelete