Tuesday 28 February 2012

CQ 10 again

Total disaster! I had to give up on the piece for CQ10 today. I just could not control the Lutrador on top of the cotton. I don't think I have ever tacked a piece so closely before quilting before, but even that didn't stop  the slippage. There is so much heavy stitching that its impossible to unpick it - so its in the bin.
I am however determined to have a second attempt and spent the afternoon creating a new background and trying out different possibilities using some of the pieces I had not yet added to the original piece.
 I then tried heat distressing the Lutrador before attaching or cutting it to shape. This provided the texture I had been looking to create without the bulk of the fabric behind and it was easy then to cut out the shapes I want from a whole sheet of distressed material. I'm really please with this technique and love the texture.
The texture really does suggest age and decay and I feel so much better about the piece than earlier!
The maxim - If at first you don't succeed, try and try again has been proved correct.

Sunday 26 February 2012

Bletchley Park Exhibition

Yesterday I visited the exhibition held in the Mansion on the site of the Codebreakers museum. There were 2 sections, A Bletchley Open - for any quilts with an attachment to Bletchley and Secret Messages which was a judged exhibition of quilts linked to secret messages.
I had entered a piece into the Secret Messages section.
When I designed it I thought of the idea of people sent off into the unknown, in dark night skies, this gave me my colour scheme - I decided that my piece would have a hidden message - in code - and my text came directly from the description of Bletchey Park. I chose to use a "Pig-Pen" Code, a substitution code with geometric shapes corresponding to the letters. Finally I decided to run two searchligh beams through the text and add bursts of flack.
I was thrilled to bits when I arrived yesterday to see that I has been given a "Highly Commended" sticker for this piece! This is the first time that any piece of mine has received public recognition - so feeling a little glow of pride!
Now its back to work so that I can finish my piece for CQ10.

Thursday 16 February 2012

Faux Chenille

Last night at Lutterworth Piecemakers we enjoyed the chance to sign up for one of several short workshops. I have always looked at Faux Chinille and wondered what the secret was; last night I found out. Vicki and Ann provided some inspiring samples and led us through the stages.
My fabrics were quite closely related in colour terms and I had included a synthetic creased satin, (not the brightest idea, it's slippy!) You mark the stitching lines on the fabrics which will be the bottom, uncut layer.
I then stitched on the drawn lines. It would have been better if I had remembered my walking foot, but I managed not to get too much creep. We were then advised to use scissors to cut into the end of each strip, very carefully leaving the bottom layer uncut. The tool provided was excellent.
It just fitted inside the stitched rows and cut them in the centre.
All the rows cut. I really like the technique, but looking at my fellow students' fabrics I realise that it might have been more effective had I used some bright contrasts - Amish colours would have worked well. This morning I popped the sample in with a wash load and gave it a short tumble dry - hey presto - completed fabric.

Sunday 12 February 2012

Snow dyeing 2

In this second batch I have used a linen fabric, from one of my grandmother's bed sheets which  I inherited! Its probably 80 years old but in really good condition. I like the texture of the cloth. I have managed to get the depth of colour better this time, but there are larger areas of cloth without the distinctive patterning that I was after, suppose that's half the fun, the unknown!
There are plenty of areas I shall be able to use and the palette works with some of last year's dyed fabrics.
This morning the snow is too icy to have another go and for the first time in a great many days the temperature has finally got above 0, all be it by just 1 degree!, So....... hopefully I'll have to wait till next winter to do it again!!!

Friday 10 February 2012

Snow dyeing

I have been making the most of this grim weather! Each time it has snowed I have been out and tried some samples of snow dyeing! The internet is wonderful, so many different "recipes" to choose from, but as this was my 1st attempt I went for a straight forward version from Nancy S Breland from Prochemical & Dye in USA, using Procion Dye, where I guess they get to try this more regularly!
I had one length of fabric pre-soaked in Soda Ash so used that and set further lengths to soak.
Our 1st snowfall was deep but it started thawing in the morning so by the time I got to it, it was a bit granular.
I used an old collander and a deep plastic food store so the dye would drain into a contained space.
I added a little snow at the bottom and added the scrunched up fabric. I then added piles of snow on top and poured on a mixture of Turquoise dye and a Blue/black mix. I then folded the whole container up in the plastic sheeting and put it out of the way in the kitchen. I was a little messy - lessons learned but no damage done to anything.
24hrs later I emptied the dye and washed out the fabric. I had not quite accounted for the diluting effect of the snow so the resulting fabric is a little pale, subtle I should say.
Now, this morning we had fresh snow again so again I set up the box and collander but this time the snow was lighter.
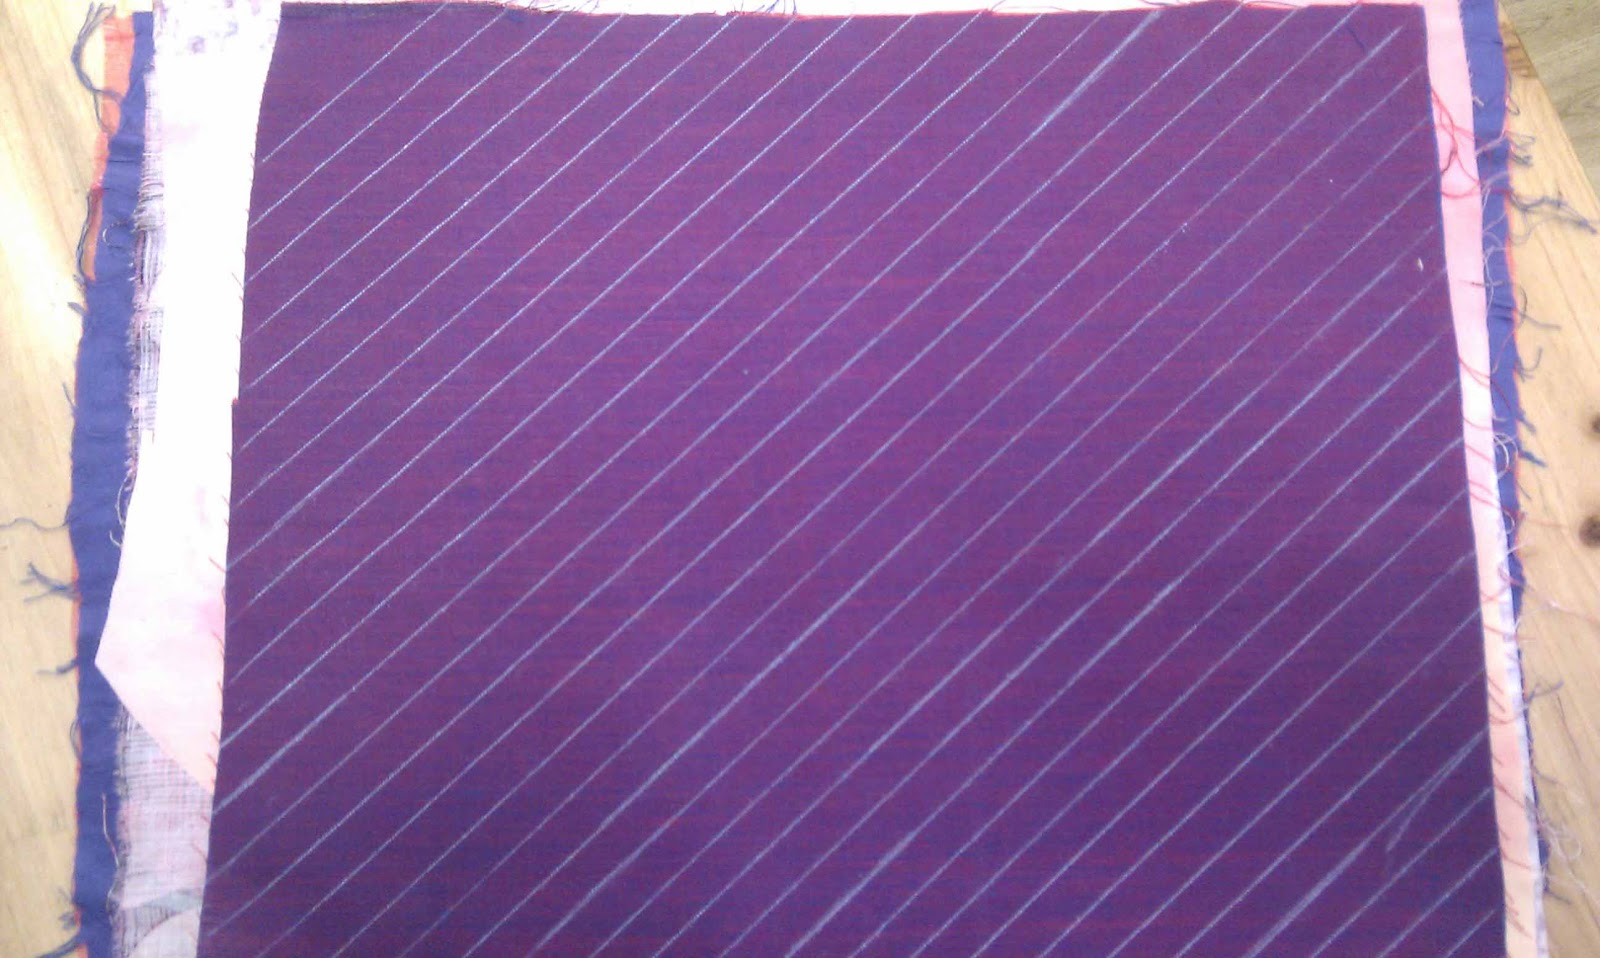
Using magenta and blue/black this time.
Wrapped it up and am leaving it until tomorrow.
However, curiosity killed the cat - and I had a peek to see what was happening:
Interesting!
Can't wait for the morning.